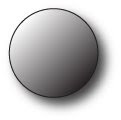
Open up a brand new blank document in Illustrator.
If you don't know how, then follow this tutorial here.
In the Tools Panel, the 8th tool down is called the Rectangle Tool.
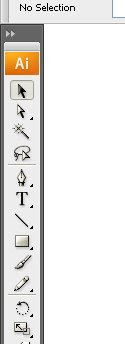 We obviously don't wanna use that, cuz what we're making is ROUND!
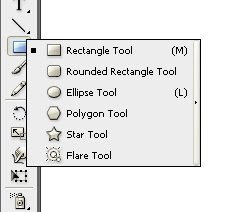 Still holding the left mouse button down, move your cursor over the Ellipse Tool and release the mouse.
Now the Tools Panel should look like this.

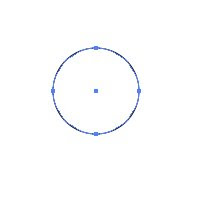
Next, we are gonna create the basis for our sphere. What do we start out with? Yup! You guessed it, a circle!
Here's what you get.
What's a gradient?
A gradient is a color that transitions from light to dark, or, from one color to another smoooothly.
Look to the right side of your screen at the Swatches Panel.
Specifically, the very first swatch in the fourth row down.
The little square that goes from white to black.
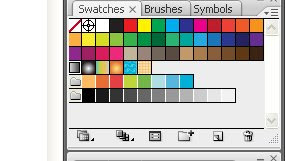
If you hold your mouse over it, it will say Linear Gradient 1.
Click on that and now the circle you made will be filled with a gradient
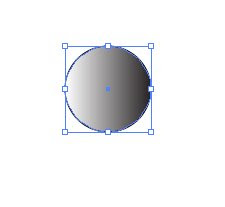
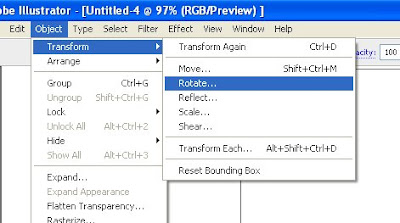
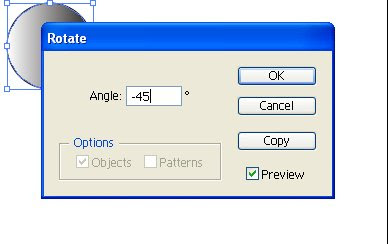
When the rotate menu pops up, type in -45 then click on the OK button.
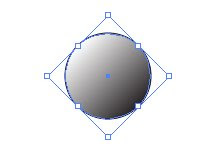
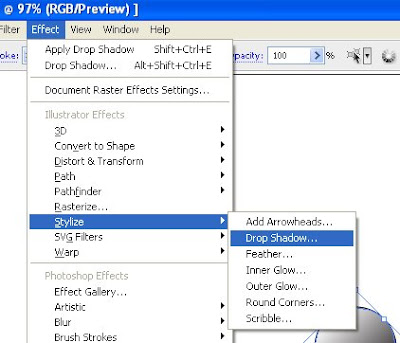
When the drop shadow menu pops up, click OK and now you have your finished sphere.

Did you find this tutorial helpful? Do you have any comment or questions? I would love to hear from you, so click on one of the links below!!


No comments:
Post a Comment